

Multiplication Facts in High School
How to Rebuild Weak Math Foundations

This post will go over the materials I use to teach multiplication facts in high school. You can find links and all the documents here.
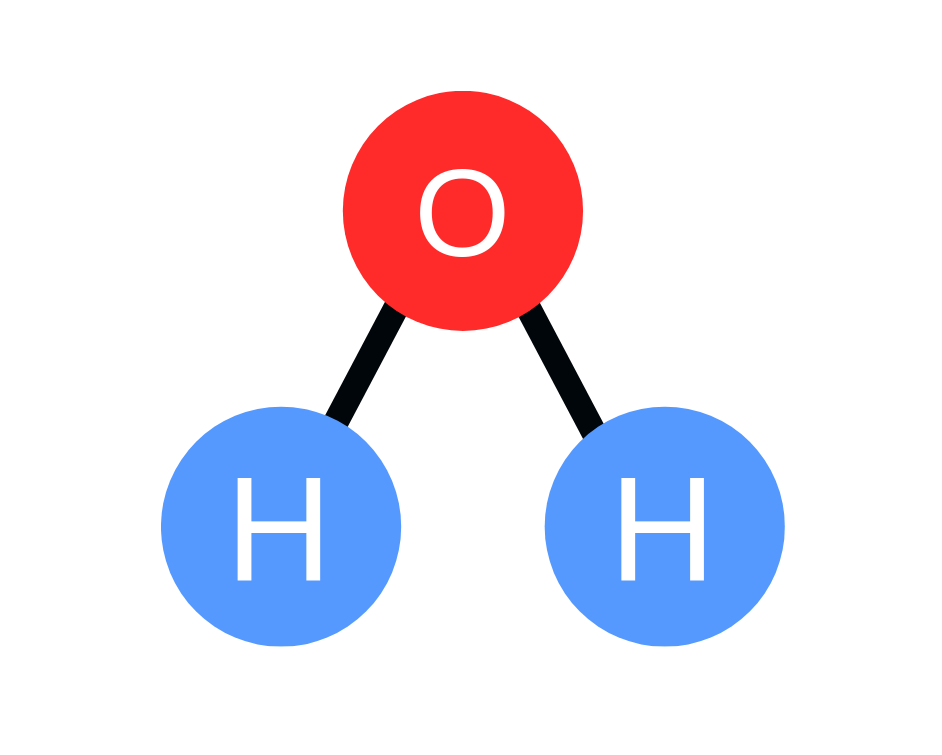
In chemistry, students have to determine the number of atoms based on a chemical formula. Let’s take water for example. Everyone, for the most part, knows that the chemical formula for water is H2O. That means every water molecule consists of 2 hydrogen atoms and 1 oxygen atom.
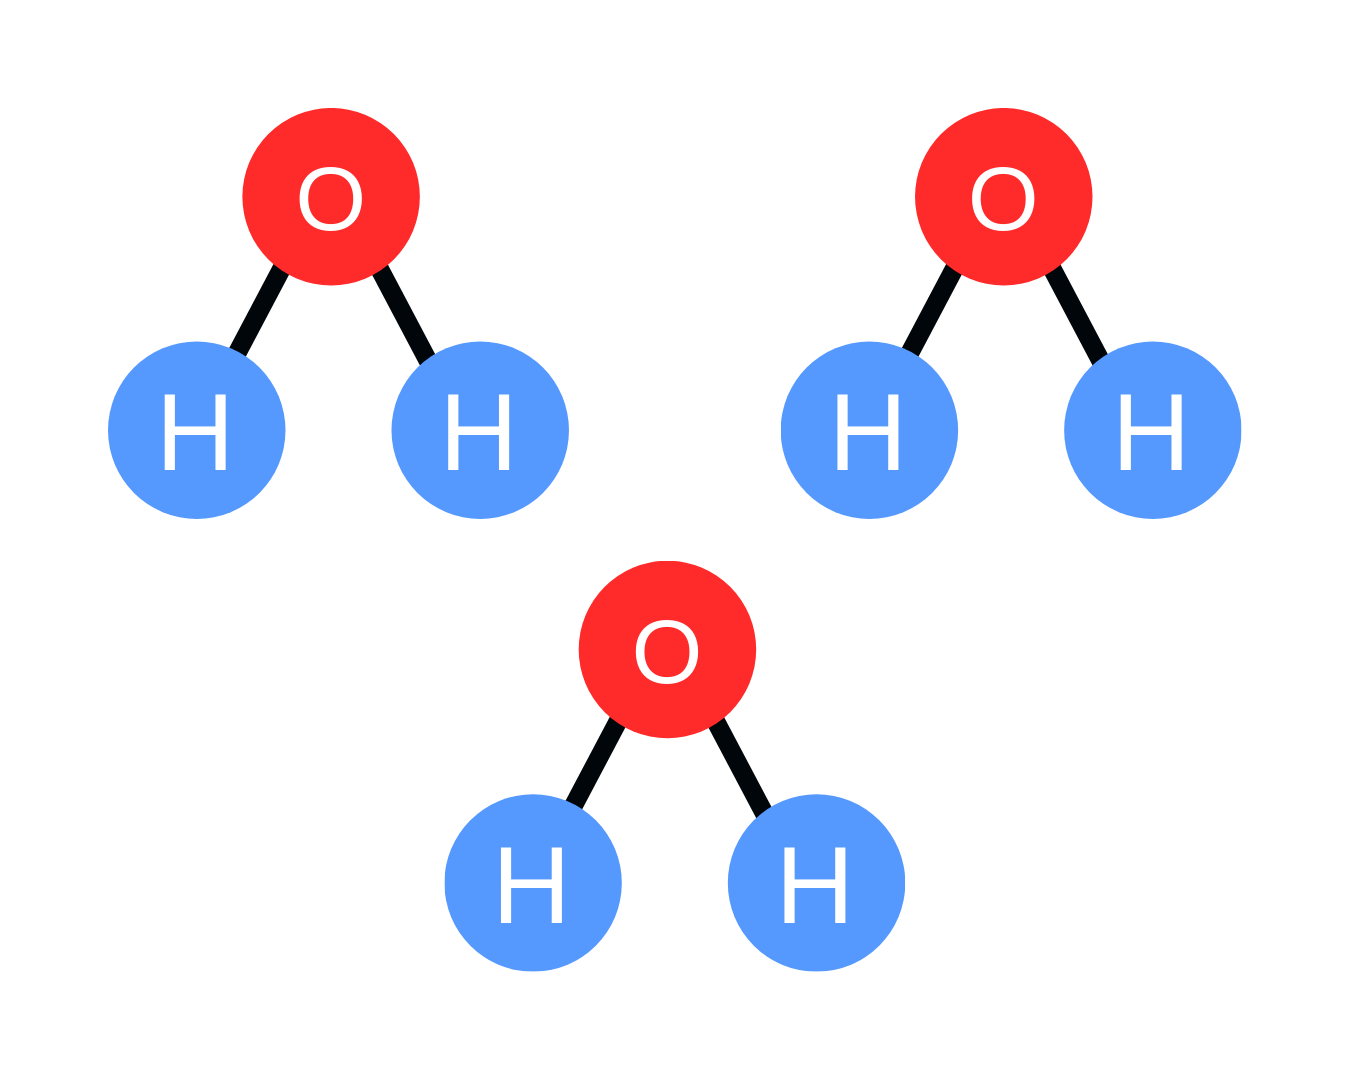
But what if you had 3 water molecules? Its chemical formula would be 3H2O. If I were to ask you what the total number of hydrogen atoms are in this specific chemical formula, you can simply multiply 3 (coefficient) and 2 (subscript) and get 6. There are a total of 6 hydrogen atoms.
This might seem like a simple task for high schoolers. Just multiply two numbers. However, what happens when high school students do not know their multiplication facts?
“Just give them a calculator.”
The purpose of teaching students how to count atoms is to eventually get them to balance chemical equations. This can be easily or laboriously done, depending on whether students know how to use multiplication to count the total number of atoms in a set of molecules.
Let’s take Student A and Student B as an example. Student A is fluent in their multiplication facts, while Student B is not. Both are trying to solve the following problem:
Determine the number of carbon, hydrogen, and oxygen atoms in 2C6H12O6.
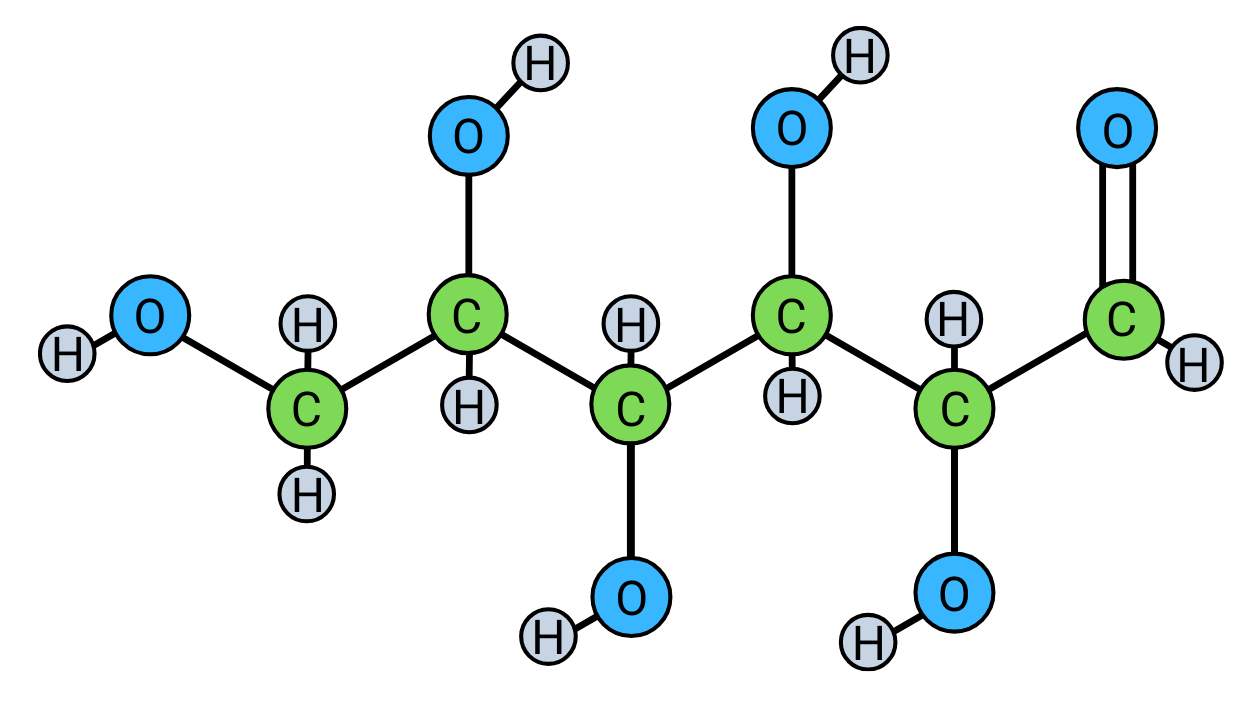
Thought process of Student A…
2 x 6 = 12. 12 carbon atoms.
2 x 12 = 24. 24 hydrogen atoms.
2 x 6 = 12. 12 oxygen atoms.
Thought process of Student B…
How many carbon atoms are there in total?
Pause. Uses calculator. Plugs in 2 x 6.
Oh okay there is 12. But 12 of what? Oh yeah. Carbon. Now how many hydrogen atoms are there?
Pause. Uses calculator. Plugs in 2 x 12.
It says 36. So there must be 36 oxygen atoms. Wait. No. I was looking for hydrogen. 36 hydrogen atoms. Time to do oxygen. How many oxygen atoms are there here? What is 2 x 6 again?
Pause. Uses calculator. Plugs in 2 x 6.
There are 12 oxygen atoms.
Let’s compare Student A with Student B.
Student A knows their multiplication facts, so the student is able to work through the problem with ease and within a short period of time. Everything goes smoothly. This student is ready to balance chemical equations.
In contrast, Student B struggles with their multiplication facts and uses a calculator which constantly interrupts their thinking process. The student focuses so much energy on the math that there is little working memory left to juggle the chemistry. “But 12 of what? Oh yeah. Carbon.” In addition, because Student B does not know their multiplication tables, they do not notice that they accidentally plugged in “3 × 12” instead of “2 × 12” in the calculator and therefore go along with the answer “36” instead of “24.” This can further complicate the problem-solving process when a student is asked to balance a chemical equation.
You might think I am making Student B up but unfortunately, this is a common scenario in my high school science classroom. Most of my students are not fluent in their multiplication tables and therefore struggle with chemistry calculations.
Multiplication Facts Drills
Students’ weak foundation in math facts has been a constant challenge in my classroom. After years of facing this issue, I decided to take matters into my own hands and explicitly drill multiplication facts to build their fluency.
To be honest, I had no idea where to start. My students are in high school, not elementary school. It was clear to me that they understood the concept of multiplication and were familiar with some of the facts. The problem was fluency. To be fluent in basic multiplication, students should be able to solve around 40 problems per minute (ppm). However, according to the pretest results, my students solved an average of 15 ppm. Students on the lower end solved 3 ppm, and only a handful were at the fluent stage.
It took many trials and errors, but I eventually developed a system that worked for my students.
I began with the 2s, 3s, 4s, and 5s.
The 2s, 3s, 4s and 5s
Instead of studying all of the multiplication tables at once, I started by focusing on the 2s, 3s, 4s, and 5s. They tend to be easier to remember which can influence more buy-in from the students.
Self-Study
For some students, it has been years since they last practiced their multiplication tables. Therefore, I decided to give students time to independently study the multiplication tables so they have an opportunity to encode the information. This can help reactivate prior knowledge and jog their memory.
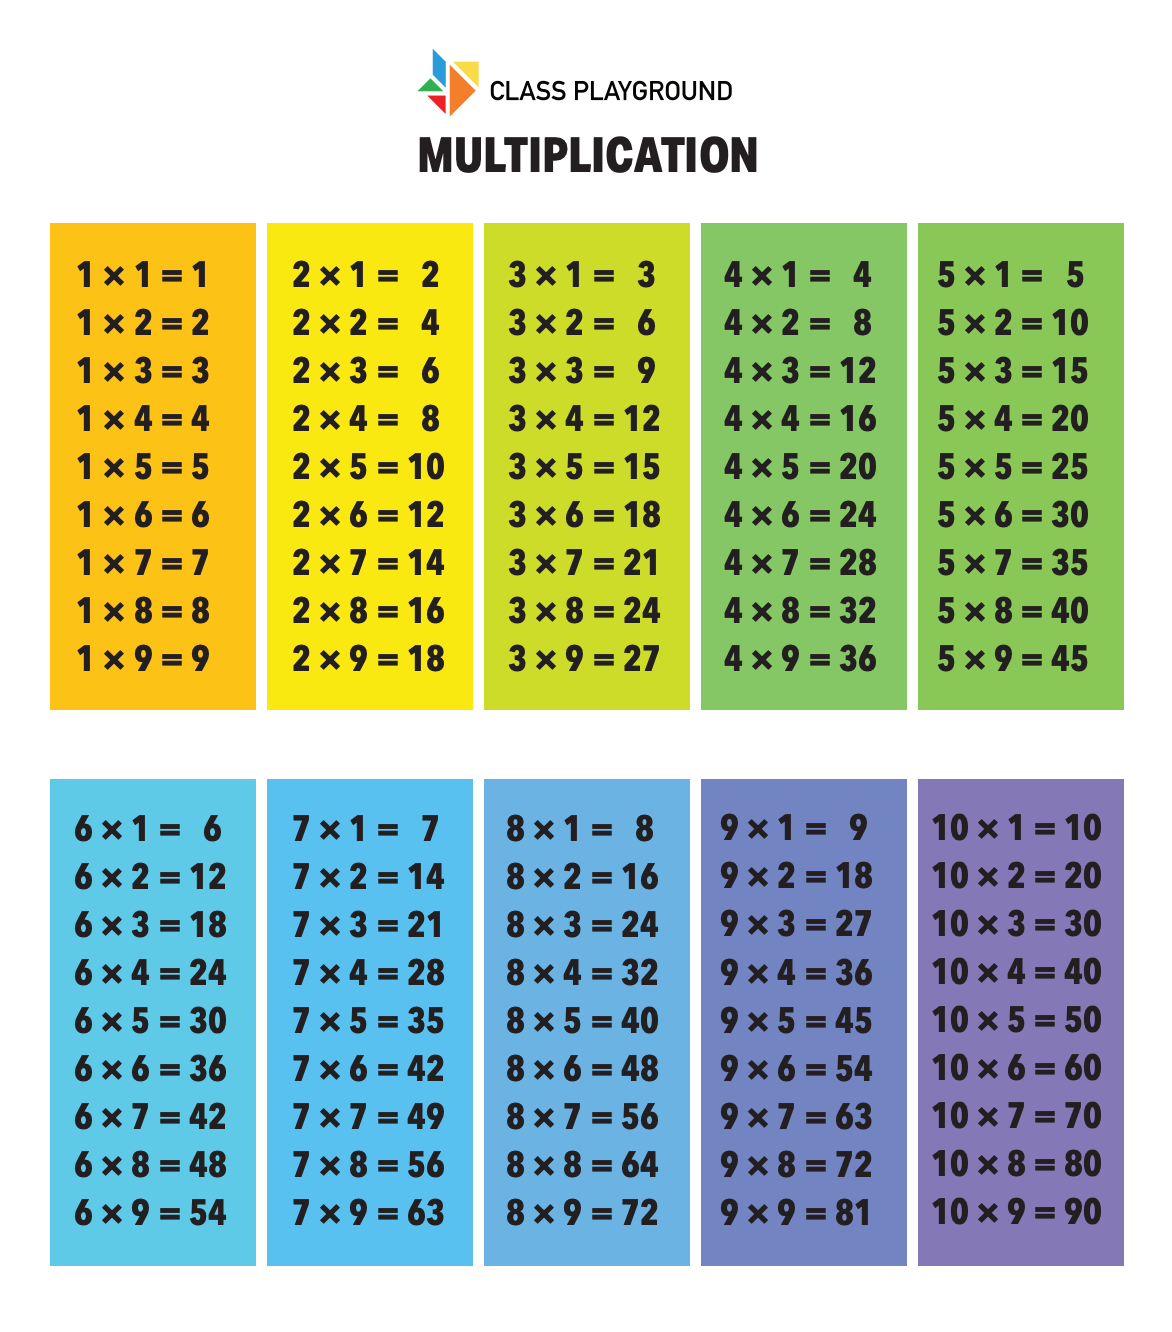
To start, I gave them the multiplication table sheets as shown below. The Multiplication Table from Class Playground was printed on card stock paper. The Multiplication Tables Practice Handout was printed on regular white paper.
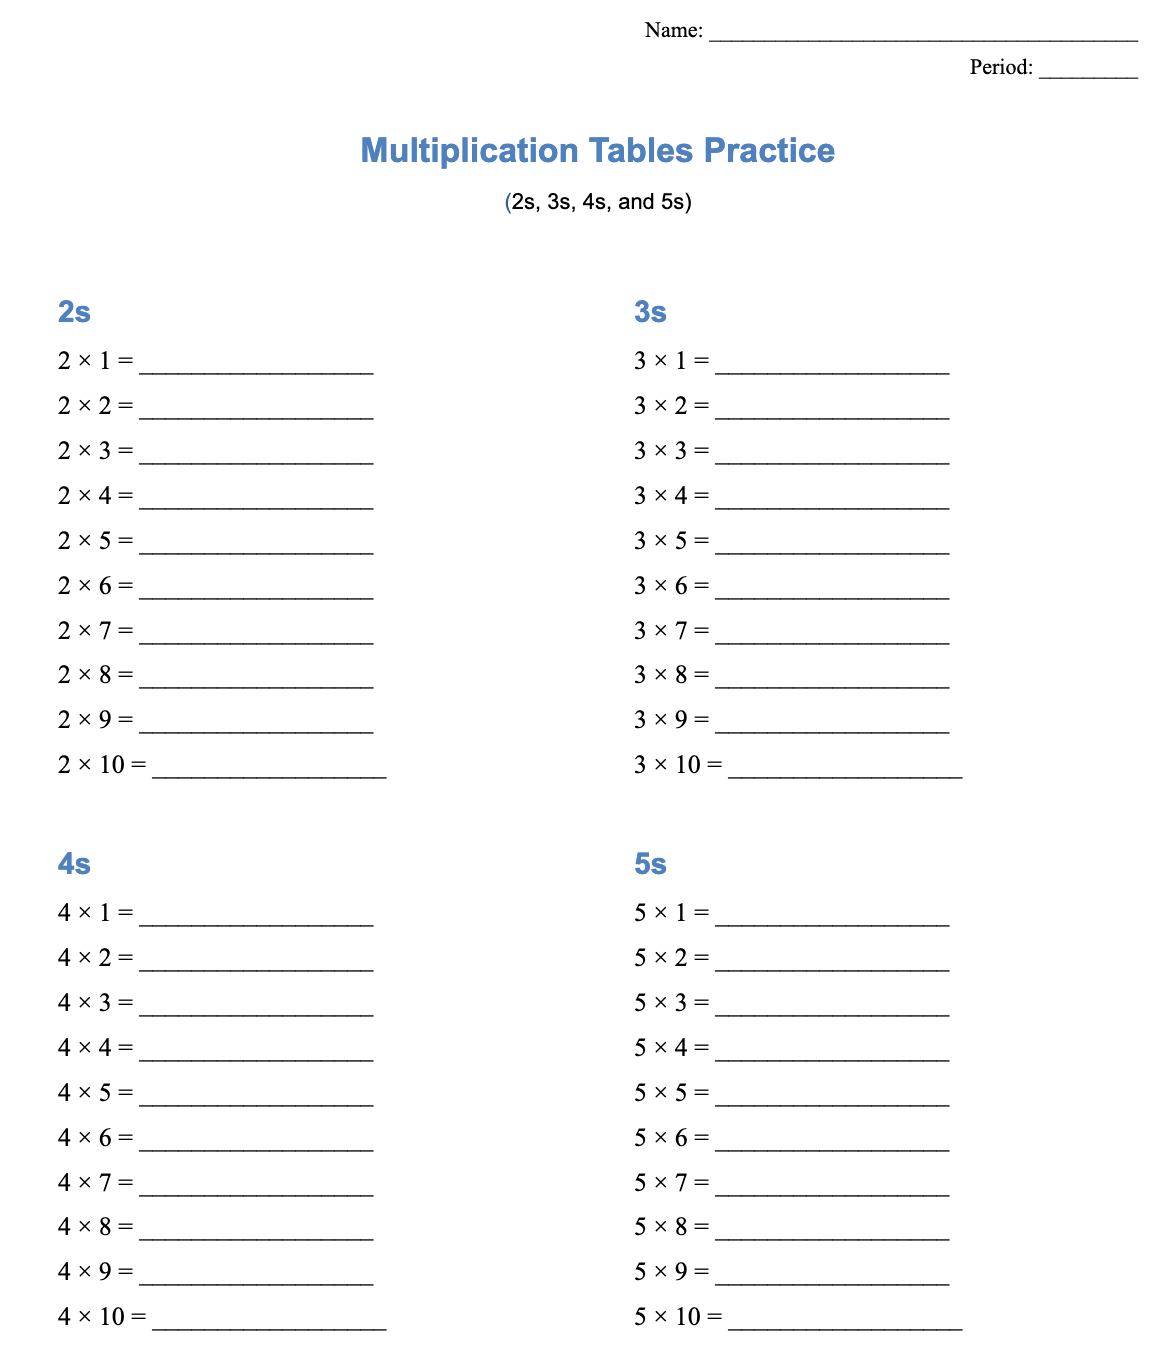
I modeled to them how they can self-study using these resources:
Teacher:
We are going to start by studying on our own. To do this, we are going to use retrieval. Repeat after me: Retrieval.
Class:
Retrieval.
Teacher:
Thank you. Retrieval means you have to come up with the answer without looking at it. You are pulling the answer from your memory.
This is how we are going to do it.
Let’s say I am studying the 2s. First, I grab the multiplication tables and use my bookmark to cover the answers.
Show on the doc cam covering the answers with a bookmark.
As a class…what do I do with my bookmark?
Class:
Cover the answers.
Teacher:
Yes. Now, on the other sheet of paper, I write all of the answers to the 2s from memory.
From what everyone?
Class:
From memory.
Show on the doc cam writing the answers.
Teacher:
When I am done, I move the bookmark to the side so I can see the answers.
Move the bookmark.
Now I check my work.
If I got an answer correct, I put a checkmark next to it.
Add checkmarks to correct answers.
What do I do if I got an answer correct….Carlos?
Carlos:
Add a checkmark.
Teacher:
Good! If I get an answer wrong, I cross it out and write the correct answer next to it.
Cross out incorrect answer and write the correct one.
If I get the answer wrong, I cross it out and do what…..Minerva?
Minerva:
Write the correct answer.
Teacher:
Correct. That is retrieval practice. I try, I check, and I correct. Let’s do that for the 2s, 3s, 4s, and 5s. One at a time please. Try, check, and correct for the 2s. Then try, check, and correct for the 3s. Try, check, and correct for the 4s. Then try, check, and correct for the 5s. Again, one at a time please.
One at a what everyone?
Class:
One at a time.
Teacher:
Good. Let’s get started.
Students are given a few minutes to do this.
Partner Study
After the self-study, I have them study with a partner.
Teacher:
On your desk, you have a sticker. If your sticker has the letter A, raise your hand.
Pause. Scan the room.
You are Partner A.
If your sticker has the letter B, raise your hand.
Pause. Scan the room.
You are Partner B.
Partner A is going to test Partner B.
Partner A, who are you testing?
Class:
Partner B.
Teacher:
Good. Now when Partner A tests Partner B, Partner B is not allowed to look at the multiplication table. So Partner B is going to turn it face down to make sure that does not happen.
As a class…is Partner B allowed to look at the multiplication table?
Class:
No.
Teacher:
Correct. You must answer from memory.
Partner A, you are going to test Partner B on the 2s, 3s, 4s, and 5s in order.
We are going to test Partner B on the 2s, 3s, 4s, and what everyone?
Class:
5s!
Teacher:
That is correct.
Let’s say I am Partner A. I hold the multiplication sheet. I turn to Partner B and ask in order:
“What is 2 × 1?”
“What is 2 × 2?”
“What is 2 × 3?”As a class…Am I asking randomly or in order?
Class:
In order.
Teacher:
Correct.
Partner B answers out loud from memory. I check the sheet to see if they are correct.
If they are correct, I say, “Good,” and move on.
If they are incorrect, I respectfully correct them.
For example:
“What is 2 × 3?”
“7.”
That answer is wrong so I say, “No. That is not correct. The answer is 6.”
Partner B then says “6.”
Then I respond, “Good. Let’s move on.”
You will do this for 5 minutes.
If you finish going in order and the timer is still going, mix it up.
For example:
“What is 4 × 3?”
“What is 5 × 4?”
“What is 2 × 6?”You stop when the timer goes off.
As a class…when do you stop?
Class:
When the timer goes off.
Good. Turn to your partner. Partner A, begin.
I set the timer for about 5 minutes. After the 5 minute timer, students switch roles.
Timed Drills
I then give students a handout similar to the one below. I make sure the handout only includes the 2s, 3s, 4s, and 5s and are interleaved.
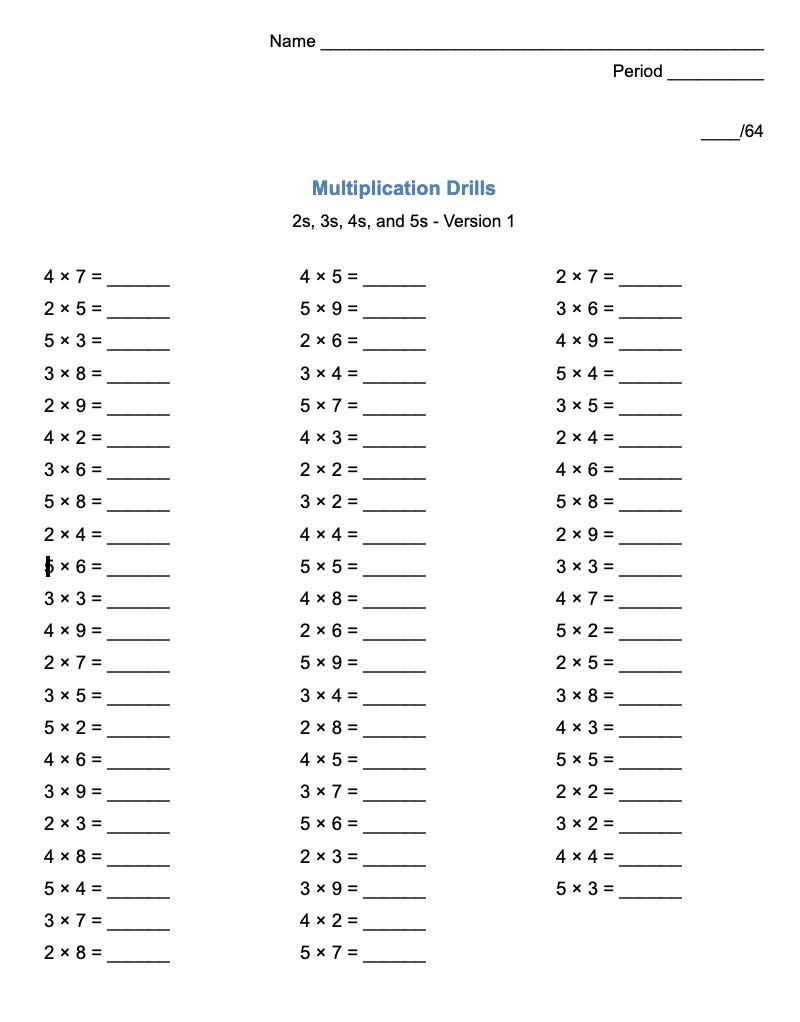
Note: I took out the 1s and 10s for it to be more challenging.
Again, students have 1 minute to solve as many problems as they can. After the one minute timer goes off, they double check their work with the Multiplication Table from Class Playground and go through this correction process:
Teacher:
We are going to correct our answers. If I got an answer correct, I put a checkmark next to it.
Add checkmarks to correct answers.
As a class, what do I do if I got an answer correct?
Class:
Add a checkmark.
Teacher:
Good! If I got an answer wrong, I cross it out and write the correct answer next to it.
Cross out incorrect answer and write the correct one.
As a class, if I got the answer wrong, I cross it out and do what?
Class:
Write the correct answer.
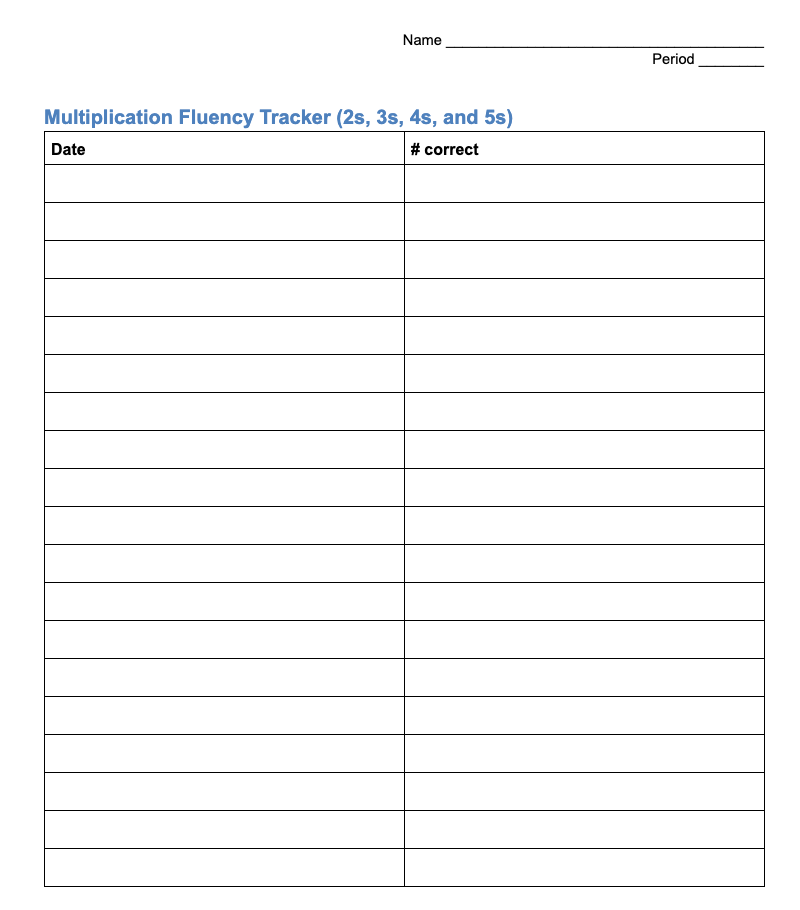
Then they tally the correct answers and record their progress on a table that they are required to have in their folders at all times. I decided to keep it simple that way it doesn’t take too much time to fill out.
Second Day and Beyond
By the second day, students are somewhat familiar with the multiplication tables procedure. For that reason, the process goes a bit faster. By the 4th day, everything should go smoothly with minimal hiccups.
I repeat the self-study, partner studying, and timed drills for classes that have low ppm averages. For classes that have higher ppm averages, I go straight into partner study and timed drills. I recommend using your professional judgment.
Depending on the class, it takes about 5-10 minutes by the time students get used to the class procedures.
I move on to the 6s, 7s, 8s, and 9s once 80% of my students have reached fluency in the 2s, 3s, 4s, and 5s.
The 6s, 7s, 8s and 9s
I repeat the same process for the 6s, 7s, 8s, and 9s: self-study, partner study, timed drills. To ensure that students do not forget the 2s, 3s, 4s, and 5s, I pause the 6s, 7s, 8s, and 9s and go back to the 2s, 3s, 4s, and 5s once a week.
Once 80% of my students have reached fluency in the 6s, 7s, 8s, and 9s, I move on to interleaving all of these sets.
The 2s, 3s, 4s, 5s, 6s, 7s, 8s, and 9s
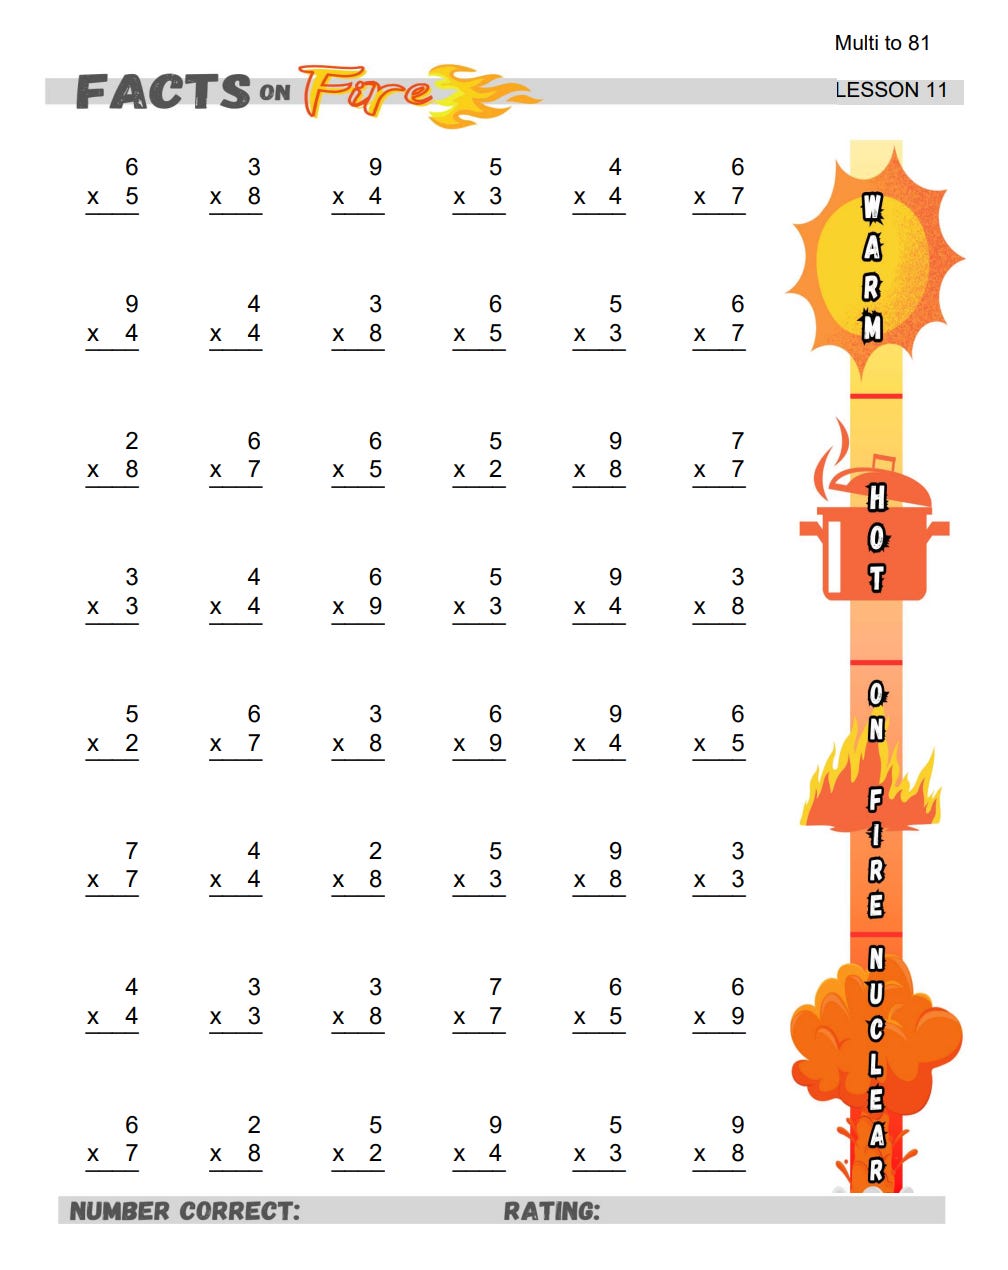
I adopted a part of Brian Poncy’s Facts on Fire system.
In this system, students are given 2 minutes to complete a warm-up handout. It is shown below.
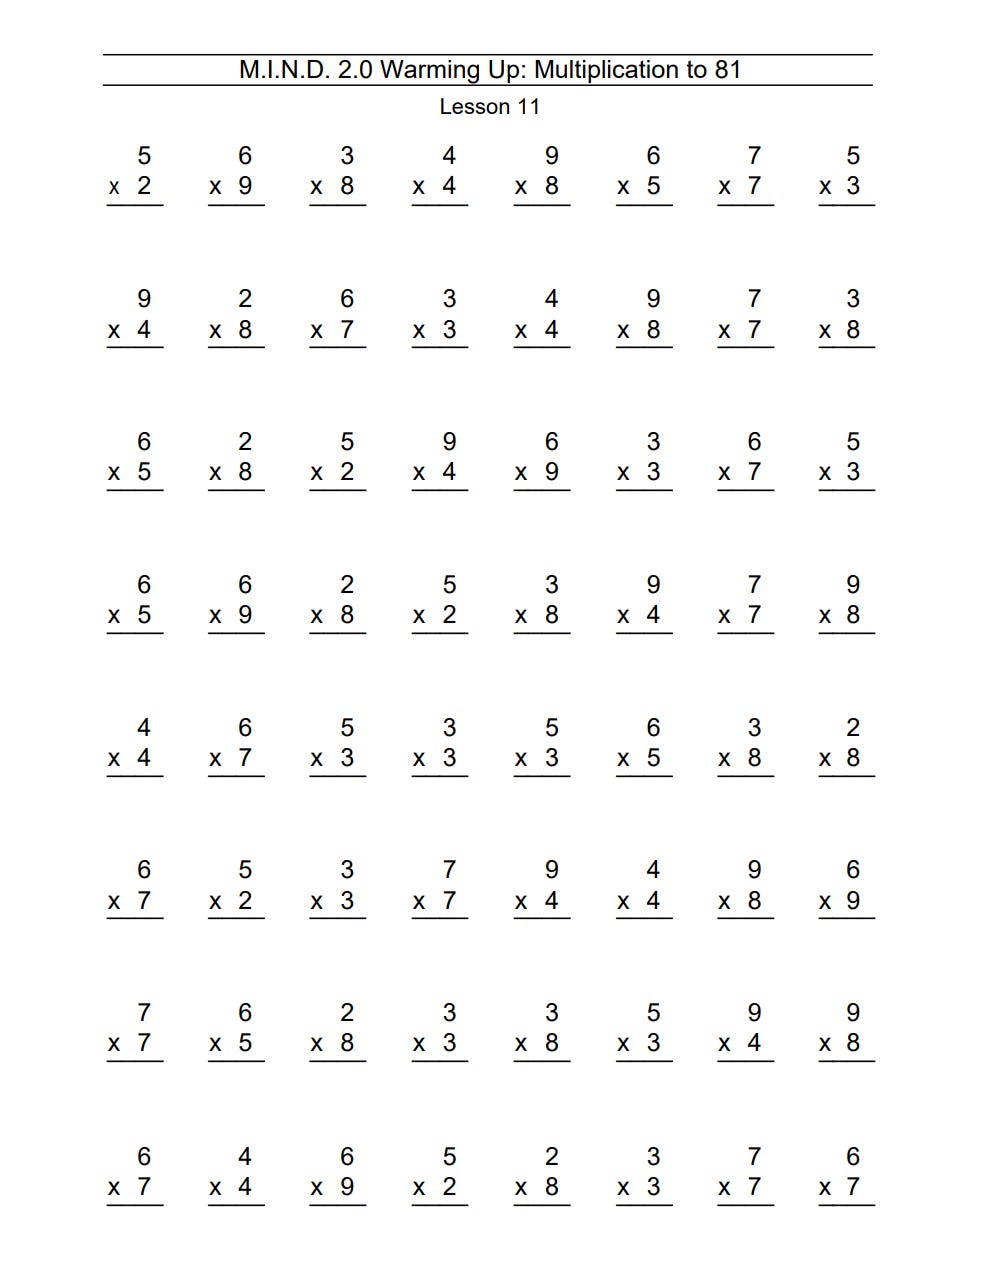
Students are then given another opportunity to complete another warm-up handout. Again for 2 minutes.
After the warm-up, students are given 1 minute to complete the actual handout, where their scores are recorded.
They then double-check their work using The Multiplication Tables by Class Playground.
Teacher:
We are going to correct our answers. If I got an answer correct, I put a checkmark next to it.
Add checkmarks to correct answers.
As a class, what do I do if I got an answer correct?
Class:
Add a checkmark.
Teacher:
Good! If I got an answer wrong, I cross it out and write the correct answer next to it.
Cross out incorrect answer and write the correct one.
As a class, if I got the answer wrong, I cross it out and do what?
Class:
Write the correct answer.
Students then track their progress on their tracker.
Reflection
I would like to clarify that I am not an elementary school teacher or a math teacher. If I were an elementary teacher, I would dedicate significantly more time to helping students develop multiplication fluency, similar to the intentional and systematic approach Laura Stam uses in her classroom (scroll to the bottom to see videos). And if I were working with them individually, I would probably use flashcards and then do timed tests.
However, as a chemistry teacher with class sizes that average 32 students, I must prioritize chemistry content. As a result, I have to use a system that dedicates just a few minutes each day to multiplication practice while still building fluency over time.
Because my students are in high school, I also needed to approach this in a way that feels respectful and age-appropriate rather than condescending. I must admit that students were at first surprised about multiplication drills. “We don’t need to do that!” But after the pre-test, it became clear to them that there was a serious gap. “No way 5th graders do 40 of these per minute!”
To encourage them to move forward, I reminded them that it did not have to stay that way. With practice and consistency, they could catch up and build fluency. As students began to see their progress improve, they became more excited about the drills. In fact, they themselves turned it into a competition: “Miss, he says he is faster than me and I don’t believe him. Start the timer!!!” Students will also walk into class saying, “Miss, today is the day! I’m going to reach 40 ppm. Just watch!” “Miss, guess what?! I did so good on my math test! It actually works!”
And its impact on chemistry calculations? It was immediate and noticeable. Students approached problems with more confidence and less frustration because they were no longer getting stuck on basic multiplication. In fact, this was the smoothest transition into balancing chemical equations I have had in my ten years of teaching. It also helped them with other chemistry topics that involved math. In my opinion, it was worth the time investment.
If your content requires a strong foundation of math facts, I highly recommend dedicating some time in building students’ fluency in math facts. It would make it easier to teach your content and it will help students do better in their other classes. It’s a win-win if you ask me.
Thank you for reading! Have a great week!
Yes!! We love to see a science teacher supporting math. You do an excellent job of describing why these facts matter in context and are not just a random thing we ask students to memorize!
This is great! A few things I like about it:
You're really clear that the purpose of knowing multiplication facts is to free up space in working memory to help students learn other stuff. The goal isn't to turn students into little calculators, it's to help them learn stuff much more complex than multiplication.
You do a great job of combining acquisition and fluency into one activity. It's easy to print out multiplication fact worksheets. It's much harder to help students learn new facts they don't know already.
I also love focusing on simpler facts first. Keeping the goals manageable for students helps a ton with motivation.